
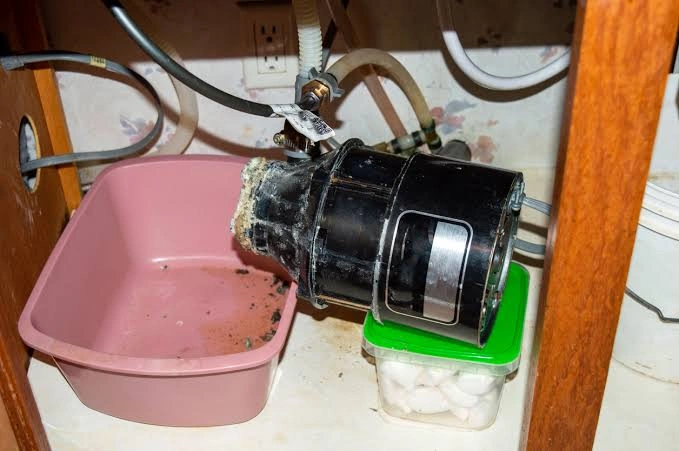
To clean your disposal quickly, turn off the power at the breaker. Scrub under the rubber splash guard with an old toothbrush and dish soap. Next, flush the unit with ice cubes, coarse salt, and citrus peels while running cold water.
Learning How to Clean a Garbage Disposal keeps your sink fresh and prevents costly plumbing clogs. Regular care removes hidden food debris and stops bad odors before they start. Our team at Just Appliances shares simple steps to help you maintain your sink unit easily.
What Causes a Garbage Disposal to Get Dirty?
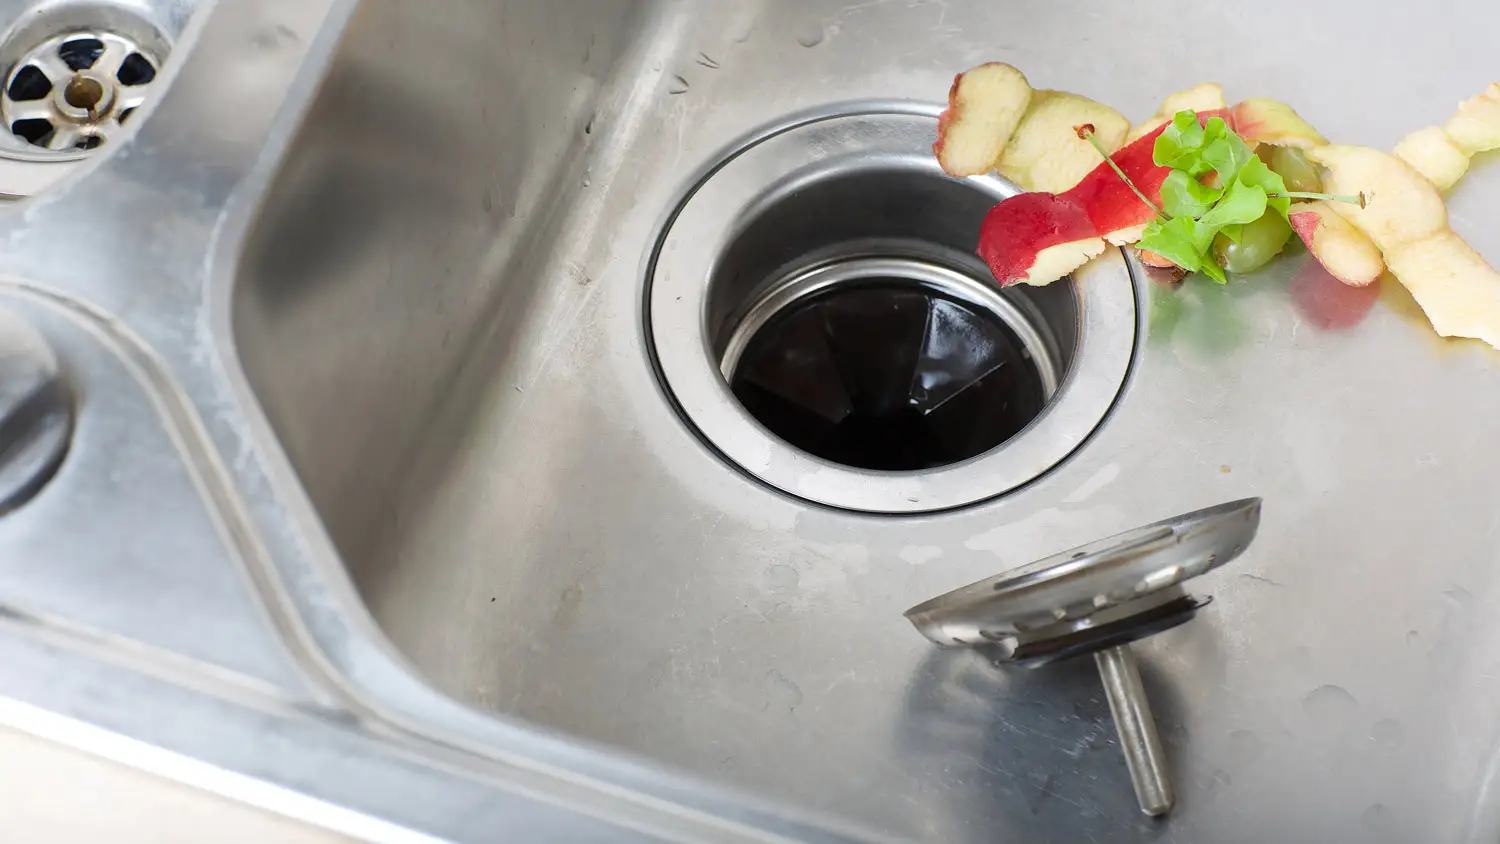
Your sink disposal handles food scraps every day. Over time, tiny bits of food stick to the grinding chamber and blades. Starches like rice and pasta swell when wet. They form a thick paste inside the drain pipe.
Fats, oils, and grease build up inside the unit. Cold water turns grease into a hard coating on the walls. This coating traps small pieces of meat and vegetables. Bacteria grow on this trapped waste. The bacteria create dark sludge and bad smells.
Mineral deposits from hard water also cling to metal parts. The mineral layer gives food debris a rough surface to grip. Dirt accumulates faster when water flow is too low. Always run cold water during each use to push debris out.
Signs Your Garbage Disposal Needs Cleaning
You do not need to guess when your unit is dirty. Your sink gives clear warning signs when food waste builds up.
Foul Smells: A sour or rotten odor coming from the drain means decaying food is trapped inside.
Slow Draining: Water pooling in your sink usually points to sludge buildup in the grinding chamber.
Gurgling Sounds: Strange gurgling noises happen when air cannot pass freely through a dirty drain.
Visible Sludge: Dark grease or mold under the rubber splash guard means a thorough wash is overdue.
Weak Grinding performance: When blades get coated in thick grease, they cannot chop food scraps cleanly.
Paying attention to these warning signs helps you fix minor issues before they turn into complete drain blockages.
Safety Precautions Before Cleaning a Garbage Disposal
Safety comes first whenever you work near electrical appliances. Never stick your fingers into a disposal while power is connected.
First, unplug the unit under the sink. If it is hardwired, turn off the breaker in your main electric panel. Flip the wall switch on to test that power is completely cut.
Never use harsh chemical drain cleaners inside your sink unit. Strong acids can melt plastic seals and corrode metal blades. These chemicals can also splash back and burn your eyes or skin. Always wear rubber gloves and eye protection when cleaning near the drain opening.
Tools and Supplies You’ll Need
You do not need expensive chemicals to get your drain clean. Common household items work best to break down grease and lift dirt.
- Dish soap: Liquid grease-cutting soap loosens oily buildup.
- Old toothbrush: A soft brush reaches tiny grooves under the rubber guard.
- Ice cubes: Two cups of ice physically scour the internal blades.
- Coarse salt: Rock salt or sea salt acts as an abrasive scrub.
- Baking soda: One cup of baking soda neutralizes strong acid smells.
- White vinegar: One cup of vinegar breaks down tough mineral scale.
- Lemon or lime slices: Fresh citrus peels leave a clean scent.
- Flashlight: A good light helps you check for hidden debris inside.
Gathering these basic items makes the process simple, fast, and safe.
How to Clean a Garbage Disposal (Step-by-Step)
Follow these clear steps to clear out grime and make your sink unit shine.
Step 1: Clean the Rubber Splash Guard
The rubber baffle at the top of the drain holds grease and food bits on its underside. Spray dish soap onto an old toothbrush. Lift the rubber flaps and scrub the underside thoroughly. Wipe away loosened sludge with a damp paper towel.
Step 2: Clear Loose Debris
Shine your flashlight into the sink opening. Look for large items like bone fragments or fruit pits. Use long tongs or pliers to pull out visible objects. Never use your bare hands for this task.
Step 3: Run Ice and Salt
Fill the grinding chamber with two cups of ice cubes and one cup of coarse salt. Turn on the cold water tap. Turn the power back on and flip the disposal switch. The ice knocks stuck debris off the impellers while salt scrubs the metal walls.
Step 4: Flush with Soap and Water
Insert a rubber sink stopper into the drain. Fill the sink basin halfway with warm water. Add two tablespoons of liquid dish soap. Mix the water until it gets sudsy. Pull the stopper and turn on the disposal. A large volume of soapy water flushes out remaining trash.
Using this routine ensures a clean garbage disposal without using dangerous chemical drain treatments.
How to Remove Garbage Disposal Odors
Stubborn odors often stay behind even after removing surface dirt. Organic acids cause these smells to cling to porous materials.
Baking soda and vinegar offer a natural way to break down smell-causing bacteria. Pour one cup of baking soda directly into the disposal opening. Let it sit for ten minutes without water. Next, pour one cup of white vinegar down the drain.
The mixture will bubble vigorously. This foam reaches high spots inside the grinding chamber. Let the foam work for fifteen minutes. Flush the system with hot water while running the unit for thirty seconds.
Fresh citrus peels provide another quick fix for smelly drains. Cut a lemon or lime into small wedges. Drop the wedges into the unit with cold water running. The rough peels scrub the blades while natural citrus oils coat the chamber with a fresh scent.
How to Deep Clean a Garbage Disposal
A deep wash removes hardened grease layers that regular rinsing misses. Do this deep process once every month to keep your system running smooth.
Start by making ice cubes out of white vinegar. Freeze plain vinegar in a standard ice tray. Drop eight vinegar ice cubes down the drain opening. Turn on cold water and run the disposal until the ice disappears. The combination of cold temperatures and acid breaks up stubborn grease.
Next, sanitize the splash guard completely. Pull the removable rubber guard out of the drain if your model allows it. Soaking the guard in a bucket of warm water and dish soap removes stuck mold. Use a scrub sponge to clean both sides before snapping it back into place.
Knowing how to clean disposal parts deeply prevents expensive service visits and extends the life of your kitchen plumbing.
How Often Should You Clean a Garbage Disposal?
A regular schedule prevents heavy grease buildup and bad odors.
Give your sink a quick rinse every week. Drop a few lemon peels or a spoonful of baking soda down the drain with cold water. This quick step keeps light odors under control.
Perform a full scrub every month. Use the ice, coarse salt, and baking soda method to remove hidden grime. Scrub under the rubber splash guard to remove dark mold.
If you cook large meals daily, clean the unit more often. Frequent cooking produces more grease and food waste that can cling to internal parts.
What NOT to Put in a Garbage Disposal
Preventing clogs is easier than clearing them. Knowing what stays out of your sink keeps your system clean.
Fibrous Vegetables: Celery, corn husks, and artichokes have long strings. These strings wrap around the blades and jam the motor.
Coffee Grounds: Fine grounds gather in water traps and form a thick, paste-like clog.
Starchy Foods: Pasta, rice, and potato peels absorb water and expand inside your pipes.
Bones and Shells: Hard items can dull blades, break impellers, or get jammed in the mechanism.
Grease and Oil: Liquid fats cool down, harden, and coat the inside walls of your drain pipe.
Non-Food Items: Paper towels, twist ties, and rubber bands cause sudden mechanical failures.
Throwing these items in your trash bin saves your sink from dangerous blockages.
Common Garbage Disposal Cleaning Mistakes
Many homeowners make simple mistakes while attempting to clean their sink units. Avoiding these errors keeps your appliance working well.
Using boiling water while running the disposal is a common mistake. Hot water melts grease, allowing it to flow deeper into your pipes before cooling and hardening into severe clogs. Always use cold water when grinding food or running ice. Cold water keeps fats solid so blades can chop them into small bits.
Using harsh chemical drain cleaners is another major error. Bleach and commercial drain solvents destroy rubber seals over time. They also create dangerous fumes in your kitchen. Stick to mild soap, vinegar, and baking soda for safe results.
Forgetting to clean under the splash guard is another missed step. People often clean the metal chamber but forget the rubber flaps. Dark mold builds up underneath and continues to produce foul smells.
Learning how to clean a garbage disposal correctly protects internal components from unnecessary wear and tear.
Garbage Disposal Maintenance Tips
Proper daily care reduces the need for constant deep cleaning. Simple habits make a big difference in appliance performance.
Always run cold water before, during, and after grinding food scraps. Keep the water running for fifteen seconds after the grinding sound stops. This extra flow pushes all food particles completely through the trap.
Feed food waste into the disposal in small batches. Overloading the chamber slows down the blades and strains the electric motor. Give the unit time to clear each batch before adding more scraps.
Run your disposal regularly. Even if you have few food scraps, run the unit with cold water every few days. Regular use prevents rust from forming on steel components.
Following basic garbage disposal maintenance habits protects your kitchen investments and stops unexpected drain backups.
How to Clean a Garburator (Same Process, Different Name)
In Canada and parts of the UK, people call a garbage disposal a garburator. The appliance is identical in function and structure.
If you own a garburator, follow the exact same care methods listed in this guide. Scrub the splash guard, use ice with rock salt, and flush with baking soda.
The phrase cleaning waste disposal unit refers to this same kitchen equipment. Regardless of the regional name, routine maintenance keeps the blades sharp and the drain clear.
When to Call a Plumber
Sometimes simple home cleaning methods are not enough to fix drain problems. Knowing when to call an expert saves you time and frustration.
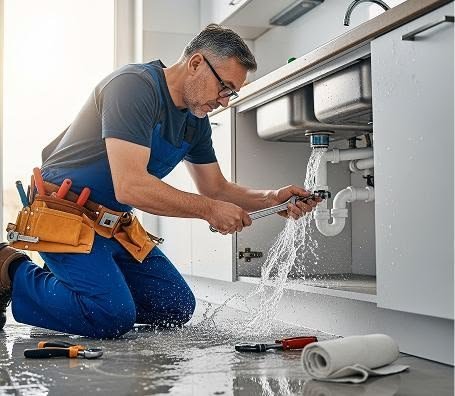
If your disposal hums but the blades do not spin, the motor is jammed. Unplug the unit before attempting to free it with an Allen wrench at the bottom base. If the motor remains stuck, contact a professional.
Water leaking under your sink indicates worn internal seals or a loose drain flange. Running water through a leaking unit can cause water damage to your kitchen cabinets.
Persistent clogs that fail to clear after baking soda treatments mean a blockage sits deep in the main drain line. Professional plumbers use drain augers to clear tough obstructions safely.
If your unit is older than ten years and makes loud grinding noises, it may need replacement. For expert local help, contact our specialists for Garbage Disposal Repair in Kent, WA. Our team at Just Appliances can inspect, fix, or replace your unit quickly.
Conclusion
Keeping your sink fresh does not require complex tools or dangerous chemicals. Regular care using ice, salt, baking soda, and citrus peels removes stubborn food buildup and stops foul smells. Always practice safety by cutting power before reaching near the drain. Avoid pouring grease or fibrous foods down your sink to protect your plumbing system.
When simple home fixes do not solve leaks or jams, professional help is ready. Just Appliances offers fast, reliable service to keep your kitchen running smoothly. Following these straightforward steps ensures a clean, efficient sink for years to come.
FAQs
Can I use bleach when cleaning garbage disposal units?
No, avoid using chlorine bleach down your drain. Bleach can harden grease, damage rubber seals, and create harsh fumes inside your kitchen. Use baking soda, vinegar, or dish soap instead.
Why does my disposal smell even after I clean it?
Foul smells usually mean food sludge is trapped under the rubber splash guard or deep in the drain trap. Scrub under the rubber flaps with an old toothbrush and flush the drain with baking soda and vinegar.
Is hot or cold water better for flushing the disposal?
Cold water is always best when grinding food or cleaning with ice. Cold water keeps fats and grease solid so the blades can chop them up. Hot water melts grease, which can coat your drain pipes and cause clogs downstream.
How do I get rid of a foreign object stuck in my disposal?
Unplug the power cord or turn off the circuit breaker first. Use long-handled pliers or tongs to reach into the drain and retrieve the object. Never insert your hands into the grinding chamber.
How long should a home garbage disposal last?
With proper care and routine cleaning, a quality sink unit lasts between eight and twelve years. Replacing worn units promptly prevents sudden kitchen leaks and electrical faults.