

To fix a cold air leak, clean the seal with warm soap and water. Inspect for gaps, then warm the warped rubber using a hair dryer to reshape it. Apply a light coat of petroleum jelly along the hinge side to prevent binding, and tighten any loose track screws.
Learning how to repair freezer door seal problems saves money, prevents heavy ice accumulation, and protects your frozen food from damage.
Why a Proper Freezer Door Seal Matters
A freezer door seal creates an airtight barrier between cold internal air and warm room air. This rubber strip is often called a door gasket. When this barrier fails, warm air enters the freezer cabinet continuously.
A damaged seal forces your appliance compressor to work extra hard. Constant running consumes much more electricity every month. Your power bill goes up quickly when cold air leaks out continuously.
Heavy frost builds up inside the freezer when room humidity enters. This frost covers cooling coils, blocks air vents, and ruins food items. Ice layers reduce available storage space and lower cooling efficiency.
Temperature swings inside the cabinet speed up food spoilage. Ice cream becomes soft and grainy. Frozen meat gets freezer burn, which destroys flavor and texture.
Constant motor operation overheats internal electrical parts. Overworking the compressor shortens the lifespan of your appliance. Fixing a bad gasket protects your investment and keeps your kitchen running smoothly.
Signs Your Freezer Door Seal Needs Repair
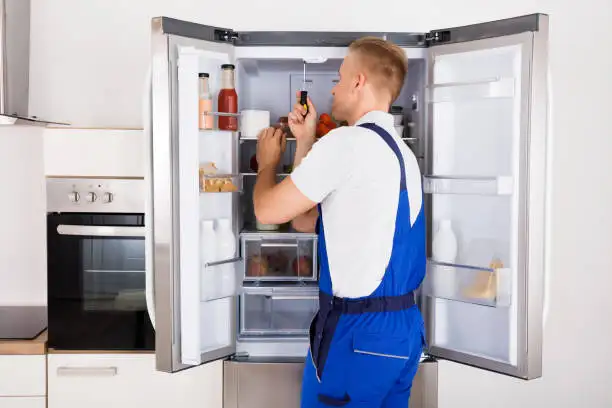
Recognizing early warning signs prevents costly food spoilage and sudden equipment failure. Inspect your appliance if you notice any of these distinct signals.
Heavy Frost along the Frame
Frost forms when warm air contacts cold interior surfaces. If you see thick ice patches near door edges, air is slipping past the gasket.
Sweating on the Cabinet Exterior
Moisture droplets forming on the outer metal cabinet mean cold air is leaking. Condensation collects along the outer frame when seals lose tight contact.
The Door Pops Open Easily
A healthy door seal uses magnetic strips to stay pulled tight. If the door bounces open when pushed shut, suction power is gone.
Soft or Melted Frozen Items
Ice cream should remain firm on upper shelves. Soft ice cream or water pools at the bottom show temperature instability caused by air leaks.
Continuous Motor Noise
Your unit should cycle on and off periodically. If the compressor hums constantly without stopping, cold air is escaping somewhere along the seal.
Common Causes of a Damaged Freezer Door Seal
Freezer seals suffer from daily wear, sticky spills, and natural age. Understanding why gaskets fail helps you fix them correctly.
Sticky Dirt and Food Spills
Spilled juice, sauce, or syrup dries on the gasket lip. When you pull the door open, sticky rubber tears away from its frame channel.
Hardened Vinyl Material
Rubber and vinyl lose natural flexibility over time. Exposure to cold air makes the material brittle, hard, and prone to cracking.
Warping and Twisted Sections
Pulling the door open by grabbing the rubber edge stretches the gasket out of shape. Warped rubber cannot sit flat against the cabinet frame.
Loose Retainer Screws
Many models hold gaskets with metal tracks and small screws. Daily door slamming loosens these fasteners, creating gap spaces behind the track.
Weak Magnetic Strips
Flexible magnetic strips sit inside the rubber folds. Over time, these magnets lose strength and fail to pull the door shut tightly.
Tools You’ll Need Before You Start
Gather simple cleaning tools and household items before beginning your repair project:
- Bucket of warm water
- Mild liquid dish soap
- Clean microfiber towels
- Soft toothbrush
- Handheld hair dryer
- Pure petroleum jelly
- Flathead screwdriver or hex key
- Crisp dollar bill
Having these items ready ensures a fast and smooth repair process without interruptions.
Step 1: Clean the Freezer Door Seal
Dirt accumulation is the most frequent cause of seal failure. Grease, dust, and food crumbs stop magnetic strips from making flush contact with metal.
Mix two cups of warm water with a teaspoon of mild dish soap. Do not use harsh detergents, bleach, or ammonia. Harsh chemicals break down synthetic rubber and make it crack faster.
Dip a soft toothbrush into the soapy mixture. Carefully scrub inside the deep folds of the rubber gasket. Dirt collects deep inside these crevices where you cannot see it easily.
Wipe down the flat metal mating surface on the main freezer body. Food residue on the metal frame prevents strong magnetic adhesion.
Dry the entire rubber seal with a clean towel. Removing moisture prevents mold growth and stops the door from freezing shut later.
Step 2: Inspect the Gasket for Damage
Open the freezer door wide under strong room lighting. Pull back the outer rubber lip with your fingers to check every inch of the seal perimeter.
Look for small split lines, missing rubber chunks, or deep cracks. Check corner joints carefully because stress concentrates at these points during daily opening.
If you discover minor tears, apply clear silicone sealant to fill small gaps. Allow the silicone to cure completely before closing the door.
If large sections of rubber are split open, patching will not hold. In that situation, performing a fridge door seal repair requires replacing the entire rubber track.
Examine the alignment along all four sides. Note any place where the gasket sags, bulges, or twists away from the plastic inner door liner.
Step 3: Fix a Warped Freezer Door Seal
Warmth restores flexibility to hardened or warped synthetic rubber. This method works well when fixing refrigerator door seal gaps along outer corners.
Plug in a handheld hair dryer and select a medium heat setting. Hold the nozzle six inches away from the bent rubber section.
Move the dryer back and forth along the gap continuously. Never hold the heat gun in one spot, or you will melt the vinyl.
As the rubber softens, gently pull and shape it outward using your fingers. Mold the vinyl until it extends fully toward the cabinet frame.
Close the door firmly while the rubber is warm. Press your hand against the problem area for two minutes while the vinyl cools and sets into shape.
Step 4: Lubricate the Door Seal
Dry rubber grips the metal cabinet surface too tightly. This friction twists the seal out of alignment whenever you pull the door open.
Proper lubrication allows the rubber lip to slide smoothly against metal without binding along the hinge edge.
Dip your fingertip into pure petroleum jelly. Rub a thin coat along the outer lip of the rubber gasket.
Focus on the hinge side of the door. This area experiences the highest friction during daily use and needs smooth movement.
Do not apply thick globs of lubricant. A light coating keeps vinyl soft, prevents sticking, and improves airtight sealing performance.
Step 5: Secure or Tighten the Door Gasket
Many appliance models hold gaskets in place using metal retainer clamps behind the rubber edge. Loose clamps cause large air gaps.
Fold back the outer rubber lip to expose the hidden mounting screws or plastic clips underneath.
Use a screwdriver to loosen the screws slightly around the loose section. Do not remove the screws completely from the door frame.
Adjust the rubber gasket position so it sits perfectly straight against the cabinet body.
Retighten the screws evenly using moderate hand pressure. Avoid overtightening because cracked plastic door liners are expensive to replace.
For snap-in style gaskets, press firmly with both thumbs along the edge channel until you hear the track snap into position.
Step 6: Test the Door Seal (Dollar Bill Test)
The paper pull test proves whether your manual adjustments restored airtight contact around the perimeter.
Take a flat, crisp dollar bill or standard sheet of printer paper. Open the freezer door halfway.
Place the paper across the rubber seal on the top corner of the door. Close the door firmly over the paper.
Gently pull the dollar bill outward. You should feel firm, smooth resistance as you drag the paper out.
If the paper slides out effortlessly without drag, cold air is escaping at that location.
Repeat this test every six inches along the top, bottom, and side edges. Re-adjust any sections where the paper pulls out easily.
How to Know If the Repair Worked
Observe your appliance for 24 hours after finishing maintenance tasks. Look for key physical signs that confirm success:
- Internal frost stops accumulating on shelves and food containers.
- Exterior condensation vanishes from the outer cabinet surface.
- You feel a distinct magnetic tug when pulling the door open.
- The cooling motor runs on predictable, quiet cycles instead of running non-stop.
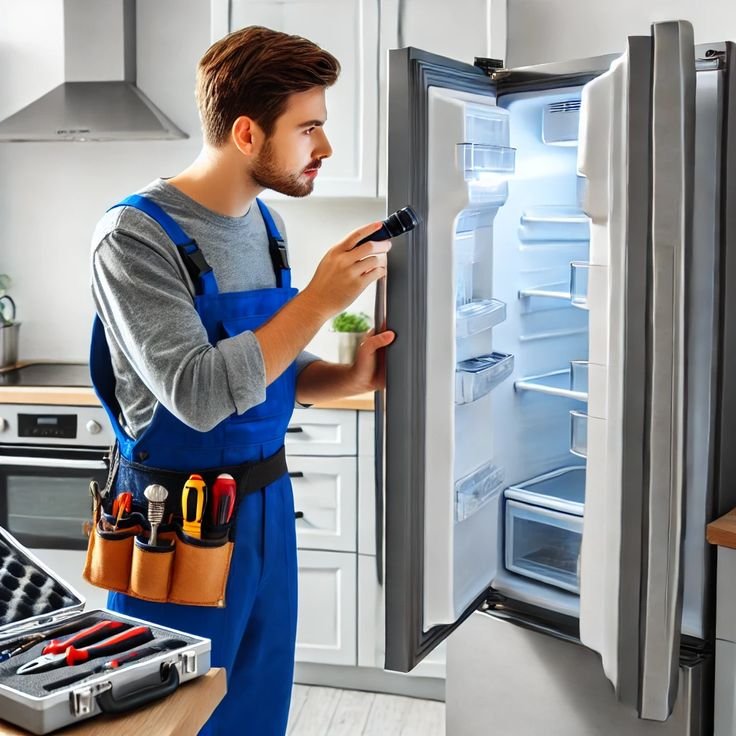
If frost continues forming inside, test for hidden gaps using a flashlight test. Place a bright flashlight inside the freezer facing outward.
Shut the door and turn off room lights. If light shines through the rubber edge, adjust that spot again to reseal refrigerator door gaps completely.
When Should You Replace the Freezer Door Seal?
Some damaged gaskets are beyond manual repair. Knowing how to fix refrigerator door seal problems includes recognizing when a new part is necessary.
Replace the complete gasket assembly if you notice these permanent defects:
- Hardened vinyl that remains stiff after heat application.
- Multiple long splits running through structural rubber folds.
- Broken internal magnets that no longer stick to steel.
- Persistent air gaps that return right after heating adjustments.
Always order official replacement parts matched to your exact model number. Model tags sit inside the cabinet or on the rear appliance frame.
Tips to Keep Your Freezer Door Seal in Good Condition
Regular preventative care doubles the operating life of your door gaskets. Follow these maintenance habits to avoid future problems:
Clean Every Three Months
Wipe down rubber seals during regular kitchen cleaning sessions. Removing dirt prevents sticky buildup and rubber tearing.
Always Use the Door Handle
Never grab the rubber edge to pull the door open. Finger pressure pulls gaskets out of retainer tracks over time.
Re-Apply Lubricant Twice a Year
Wipe a light layer of petroleum jelly along the hinge side every six months to keep vinyl soft and flexible.
Level the Appliance Cabinet
Adjust the front leveling legs so the freezer tilts backward slightly. Gravity helps the heavy door swing closed completely on its own.
Common Mistakes to Avoid During Freezer Door Seal Repair
Avoid these frequent mistakes when doing DIY repair work on your appliance:
Overheating the vinyl: Using maximum heat melts rubber permanently and ruins structural shape.
Applying too much grease: Thick petroleum jelly attracts dirt and creates sticky residue buildup.
Ignoring sagging door hinges: Loose hinges throw off door alignment, making gasket repairs ineffective.
Overtightening track screws: Excessive force cracks plastic liner walls and strips mounting screw holes.
Stretching replacement parts: Pulling a new seal during installation makes corners thin out and pull away.
When to Call a Professional
Sometimes gasket adjustments fail to fix temperature issues. Bent door hinges, sagging frames, or internal thermostat faults require professional tools and technical expertise.
If your freezer continues leaking cold air after completing these steps, contact Just Appliances. Our team inspects door alignments, replaces worn gaskets, and repairs cooling systems quickly.
Final Thoughts
Learning how to repair a freezer door seal keeps your appliance efficient and prevents costly food waste. Most air gaps require simple cleaning, minor heating with a hair dryer, or screw tightening to work correctly again.
If your appliance still leaks cold air or requires a new gasket, hire a certified freezer repair service in Kent WA. The expert technicians at Just Appliances restore cooling performance fast.
Frequently Asked Questions
Can I fix a freezer seal without replacing it?
Yes, if the seal is dirty, warped, or loose, you can clean it with warm soapy water, reshape it using a hair dryer, or tighten loose mounting screws.
How much does it cost to fix a freezer door seal?
Cleaning and heating a gasket costs nothing. Buying a new replacement seal costs between $50 and $120 depending on your model.
Why does my freezer door bounce open?
Doors bounce open when trapped air cannot vent quickly or when rubber seals become hard, sticky, or misaligned. Cleaning and lubricating the seal solves the issue.
How long do freezer door gaskets last?
Most freezer seals last between 5 and 10 years with regular cleaning, proper lubrication, and careful daily use.