
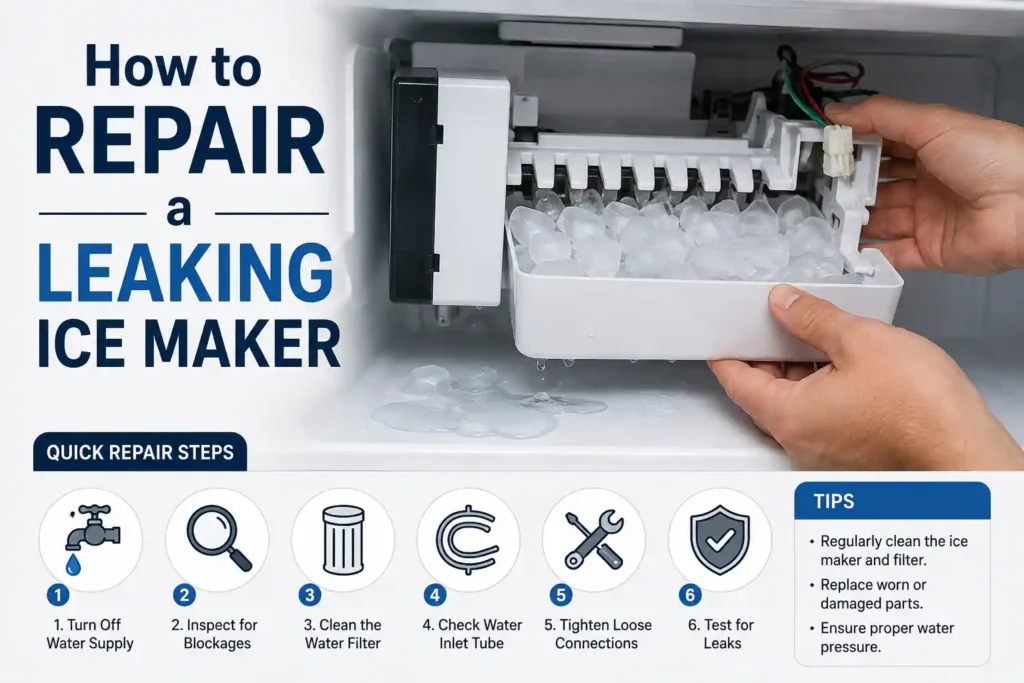
To fix an ice maker leak, turn off the water supply and unplug the refrigerator. Inspect the water inlet valve, fill tube, and drain pan for cracks or ice blockages. Clear frozen lines using warm water. Tighten all loose water line fittings firmly. Replace damaged inlet valves or worn rubber seals right away to prevent floor damage.
Water pooling under your fridge creates a huge mess. Learning how to repair a leaking ice maker saves money and protects your kitchen floor from rot. This guide provides practical steps to help you resolve the issue fast.
Signs Your Ice Maker Is Leaking
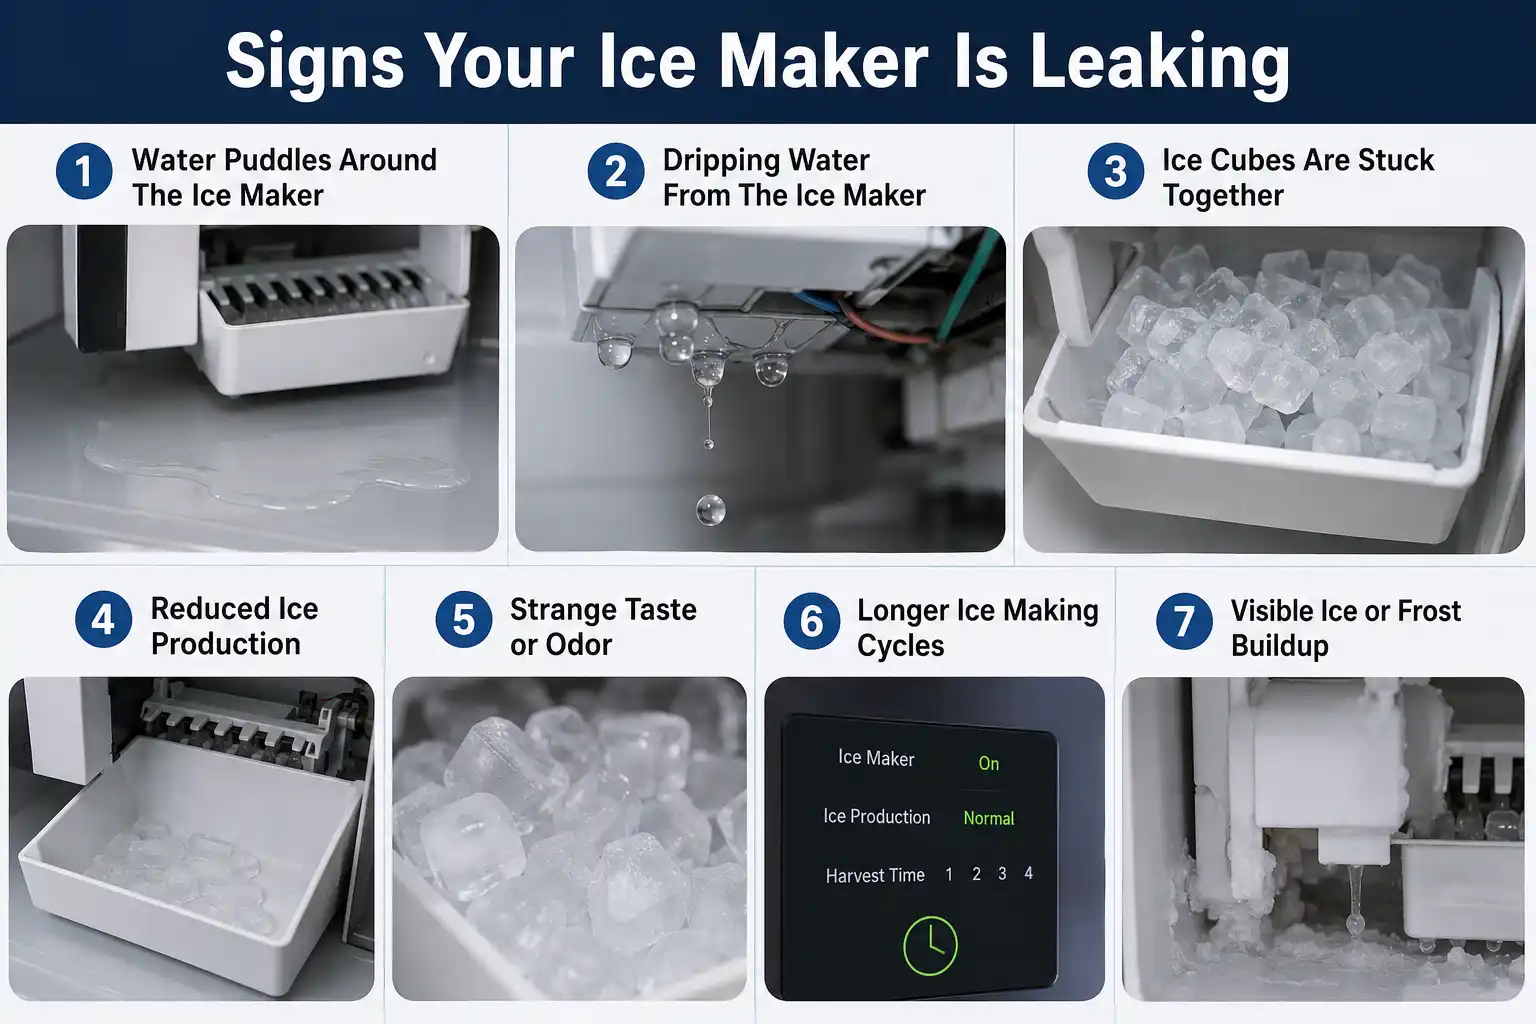
A faulty appliance usually gives clear warning signs before creating a massive puddle. Spotting these early indicators helps you fix small problems before they require expensive professional help.
Water under the refrigerator: You notice a small puddle forming near the front legs or back panel.
Ice buildup in the freezer: Excess water freezes into thick frost blocks along the freezer floor.
Misshapen or tiny ice cubes: Cubes look hollow, small, or fused together into solid lumps.
Ice maker dripping water: Constant droplets fall directly into the storage bin, freezing the cubes together.
Low ice production: The machine produces far less ice than it normally does on a typical day.
Musty odor: Trapped moisture behind the unit causes a damp, unpleasant smell around your kitchen cabinets.
Strange noises: You hear loud hissing or dripping sounds coming from the back of the freezer compartment.
How Does Your Ice Machine Work?
Knowing how your appliance operates makes finding the leak much easier. The cycle starts when the solenoid on the water inlet valve opens. Water flows straight through a small plastic tube into the ice mold tray inside the freezer.
The cooling system chills the water until it freezes hard. A built-in thermostat senses the cold temperature of the solid ice and triggers a heating element to loosen the cubes. A motor then turns a plastic sweeper arm to push the ice into your storage bin. The cycle repeats until the wire shutoff arm is pushed up by the rising ice level. If any component breaks during this cycle, an ice maker leaking condition develops.
Why Is Your Ice Maker Leaking?
Understanding the underlying cause makes troubleshooting straight to the point. Here are the primary reasons moisture escapes your unit.
Frozen Fill Tube
The fill tube delivers water from the household supply line directly into the mold tray. Cold freezer air can freeze standing water inside this narrow tube. Water backs up during the next cycle and spills over the back wall of your freezer.
Faulty Water Inlet Valve
The inlet valve opens and closes electronically to supply water. Mineral deposits or age can crack the valve housing or prevent the internal seal from shutting completely. A damaged valve allows water to continuously seep through, causing an ice maker leaking water problem.
Damaged or Loose Water Line
Flexible plastic and copper water lines run behind your refrigerator. Vibrations from the compressor loosen the compression fittings over time. Cracks or tiny pinholes in old tubing cause steady drips behind the unit, resulting in water leaking from ice maker connections.
Unlevel Refrigerator
Your refrigerator must sit level on the floor to keep water contained. If the fridge tilts forward or sideways, water spills over the edges of the mold before it has time to freeze into solid cubes.
Cracked Ice Mold Tray
Ice trays expand and contract during freezing cycles. Over time, plastic or coated metal trays develop hairline cracks. Water leaks out of these tiny fractures during every single fill cycle.
Clogged Water Filter
An old filter restricts normal water flow and builds excessive pressure in the supply system. High pressure pops flexible lines loose from their fittings, leaving water pooling behind your appliance.
Tools You’ll Need to Repair a Leaking Ice Maker
Gather these basic hand tools before you start working on your appliance repair:
- Screwdriver set: Flathead and Phillips head screwdrivers to remove access panels.
- Adjustable wrench: For loosening and tightening brass water line fittings.
- Bucket and towels: Keep these ready to catch spills and dry wet surfaces completely.
- Hair dryer: Thaws frozen water lines quickly without melting structural plastic.
- Warm water and turkey baster: Useful for melting ice inside narrow fill tubes.
- Replacement parts: Buy new tubing or an inlet valve if your inspection reveals cracked components.
- Level tool: Use a basic bubble level to check if your refrigerator rests evenly.
- Flashlight: Helps you spot small drips in dark areas behind the fridge.
Safety Precautions Before You Start
Safety comes first whenever you work on large home appliances. Follow these essential steps before touching any internal components:
Unplug the power: Always pull the electric plug from the wall socket. Working around water and electricity at the same time is extremely dangerous.
Shut off the water supply: Turn the shutoff valve clockwise until it stops tight. The valve is usually located under your kitchen sink or behind the fridge.
Clear the workspace: Remove food items and ice storage bins to give yourself plenty of room to work safely.
Wear protective gloves: Metal edges inside appliance cabinets can be sharp and easily cut bare fingers.
Keep towels nearby: Trapped water will drain out when you disconnect the main supply lines.
How to Repair a Leaking Ice Maker
Follow these clear, step-by-step instructions to fix your leaking unit. Take your time with each step to find the exact source of the issue.
Step 1: Level the Refrigerator
Place your level on top of the refrigerator cabinet. Adjust the front leveling legs using your adjustable wrench. Ensure the fridge sits level from side to side and tilts very slightly backward. This position prevents water from spilling over the mold edges during the fill cycle.
Step 2: Inspect and Thaw the Fill Tube
Locate the fill tube at the back upper section of the freezer. Check if hard ice blocks the tube opening. If frozen, blow warm air from a hair dryer onto the plastic tube from a few inches away. You can also flush warm water through a turkey baster to clear the clog safely.
Step 3: Check the Water Supply Lines
Pull the refrigerator away from the wall carefully. Inspect the flexible plastic or braided steel water line. Look for moisture around all brass connections. Tighten loose compression nuts gently with your wrench. Replace the tubing entirely if you see deep cracks, kinks, or pinholes.
Step 4: Test the Water Inlet Valve
Find the main water inlet valve near the bottom rear corner of the fridge. Inspect the plastic valve housing for cracks or white mineral deposits. A crusty or wet valve indicates an active leak. Disconnect the wire harness and water lines, then install a new inlet valve securely.
Step 5: Replace the Water Filter
Check your water filter indicator light on the main display panel. Twist the old water filter counterclockwise to remove it. Insert a fresh filter and lock it firmly into place. Flush two gallons of water through the door dispenser to clear trapped air pockets and prevent pressure spikes.
Step 6: Inspect the Ice Tray and Shutoff Arm
Remove the ice maker assembly by loosening its mounting screws. Check the mold tray carefully for cracks or peeling coatings. Ensure the plastic shutoff arm moves freely up and down without sticking. If the tray is damaged, replace the entire assembly.
Step 7: Check Your Home Water Pressure
Low home water pressure prevents the inlet valve from closing fully, causing an ice maker dripping water into the freezer compartment. Test your household water pressure with a gauge attached to an outside hose bib. The pressure should sit between 40 and 120 pounds per square inch for proper valve operation.
Common Mistakes to Avoid When Repairing a Leaking Ice Maker
Avoid these frequent errors during your repair project to protect your appliance from further damage:
Using high heat on plastic: Do not hold a hot hair dryer too close to internal components. High heat warps plastic tubes and creates larger leaks.
Overtightening brass fittings: Turning metal nuts too hard strips internal threads and crushes rubber washers, causing persistent drips.
Forgetting to flush new filters: Trapped air inside a new filter causes pressure spikes that blow flexible water lines out of their fittings.
Ignoring floor protection: Always lay down heavy towels or cardboard before sliding your fridge out. Heavy appliance wheels scratch hardwood and vinyl floors easily.
Leaving power connected: Never work on wet components or water valves while the unit is plugged into electrical power.
Using cheap replacement parts: Always buy factory-authorized replacement parts. Cheap aftermarket valves break easily and fail under normal water pressure.
How to Prevent Ice Maker Leaks in the Future
Regular maintenance prevents unexpected water damage and extends the life of your kitchen appliance.
Change water filters every six months: Fresh filters maintain smooth water flow and protect internal valves from sediment buildup.
Keep freezer temperature optimal: Set your freezer between 0 and 5 degrees Fahrenheit. Colder settings freeze plastic fill tubes easily.
Inspect line connections yearly: Check supply lines behind your fridge for clear signs of wear, deep cracks, or stiffness.
Clean condenser coils: Dusty coils force the compressor to work harder, causing uneven freezing cycles and eventual line backups.
Avoid overfilling the freezer: Blocking air vents disrupts airflow, causing localized freezing in delicate supply lines.
Monitor your water pressure: High water pressure can blow out weak plastic fittings. Install a simple pressure regulator if your home pressure is too high.
When to Call a Professional
Some repairs require specialized tools and technical expertise. You should call a technician if:
- Leaks persist after you replace the inlet valve and supply lines.
- You see standing water pooling deep inside the cabinet walls.
- Electrical wiring looks damaged, frayed, or scorched.
- You feel uncomfortable working with plumbing lines or electrical components.
- Your refrigerator is still covered under a factory warranty.
Conclusion
Knowing how to repair a leaking ice maker allows you to fix minor appliance issues before they turn into major water damage. Checking supply lines, leveling the fridge, and clearing frozen tubes solves most leak issues quickly. Regular maintenance keeps your ice machine running efficiently for years. If you hit a complex issue or prefer expert technical support, scheduling a professional Ice Maker Repair in Kent WA ensures the job is done safely and correctly. Contact Just Appliances today to get your home appliance back in top working order.
Frequently Asked Questions
Why is my ice maker leaking water into the ice bin?
An ice maker dripping water inside the storage bin usually happens due to a frozen fill tube or a faulty water inlet valve. When the valve fails to seal properly, water drips continuously into the bin and freezes into solid clumps.
Can a clogged filter cause an ice maker leaking problem?
Yes. A badly clogged water filter severely restricts normal water flow, building high pressure behind the filter housing. This intense pressure forces water out through seals and line fittings onto your floor.
How do I know if my water inlet valve is bad?
Look closely for active drips near the lower rear panel of your fridge. White mineral buildup or fresh moisture on the plastic valve body indicates an active leak that requires a valve replacement.
Is an ice maker dripping water dangerous?
Yes. Standing water ruins kitchen floors, hidden subfloors, and wooden cabinets over time. Moisture near electrical wall outlets also creates a severe shock hazard. Fix all water leaks immediately.
How long does it take to fix a leaking ice maker?
Most basic leak repairs take less than an hour. Thawing a frozen fill tube takes about fifteen minutes with warm water, while replacing a cracked water inlet valve takes about thirty minutes with basic hand tools.